Label Artwork Guidelines
How to Prepare Print-Ready Label Files
Print-ready artwork runs clean the first time and avoids delays. This guide covers the file formats we accept, how to set bleed, safe zone and dieline, how to set color in CMYK and Pantone, the resolution and barcode requirements, and how to handle fonts — so your label prints as designed. If you are not sure, send us your file and our pre-press team will check it.
Print-ready spec canvas
Accepted Artwork File Formats
Vector files give the cleanest print. These are the formats we accept, and where each one fits.
Adobe Illustrator
A preferred vector format that scales to any label size without losing quality — ideal for logos, type and dielines.
Print PDF
A press-ready PDF with fonts and images embedded, so the file prints exactly as you built it.
EPS
A vector format accepted for logos and label artwork, and easy to place across design tools.
Vector Preferred
Vector art stays sharp at any size; if you must use raster images, keep them at at least 300 dpi at final size.
Bleed, Safe Zone and Dieline
Three layout settings keep your design from being cut wrong. Each one guards a different part of the label.
Background extends into the bleed; important content stays inside the safe zone.
-
Bleed
Extend the background past the cut line — commonly 3 mm — so there is no white edge if the cut shifts slightly on press.
-
Safe Zone
Keep important text and logos inside the cut line so nothing critical gets trimmed away.
-
Dieline
Supply the cut or shape line on its own layer so we know exactly where the label is cut — especially for custom shapes.
Setting Up Color in CMYK and Pantone
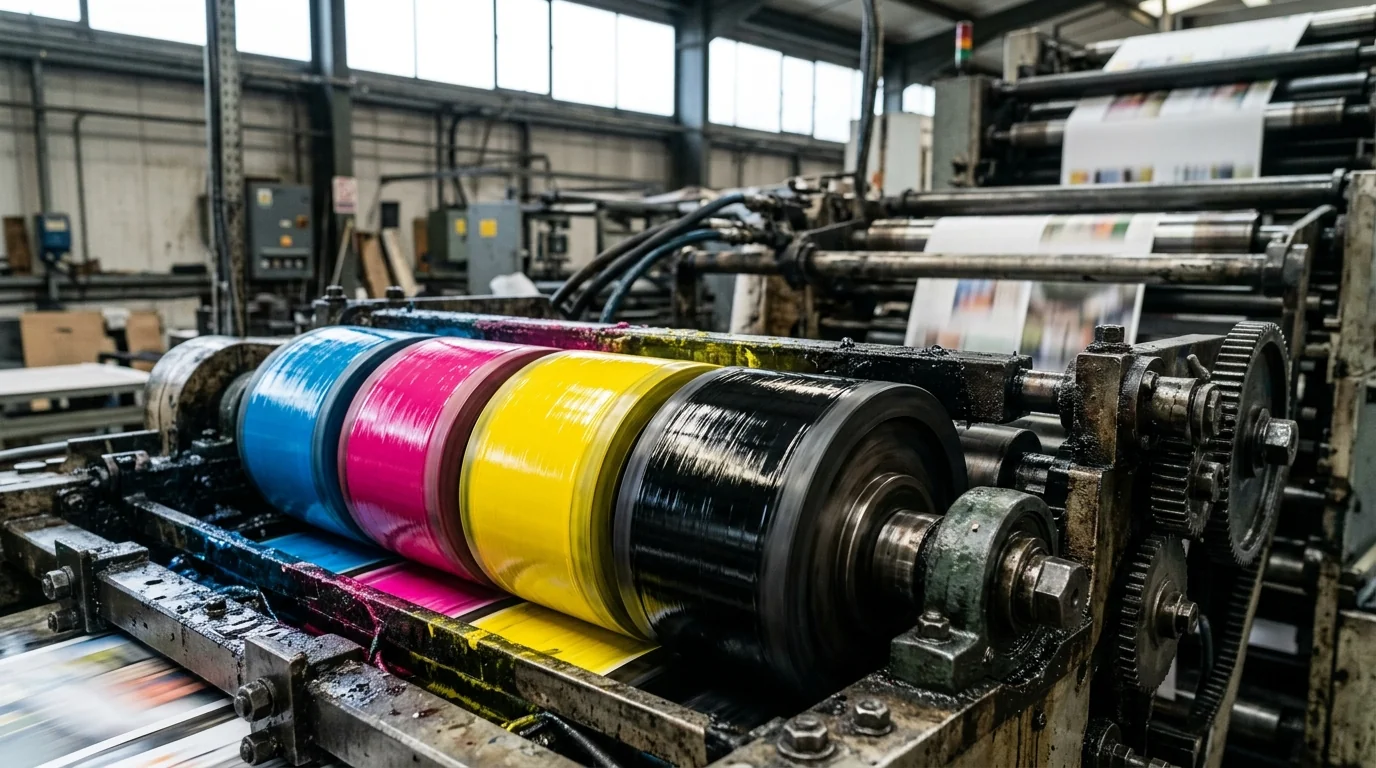
Set color for print, not screen. CMYK, Pantone and white ink each do a different job on a label.
CMYK
Build artwork in CMYK for four-color printing, so colors match the press rather than an RGB screen. RGB files can shift when converted.
Pantone
Specify Pantone spot colors where a brand color must stay consistent from run to run. A named spot color holds truer than a CMYK build.
White Ink
On clear film or foil, a white-ink underprint is added so light colors show. Flag where you want it so it prints under the right areas.
Image Resolution Requirements
Low-resolution images print blurry. Raster art and logos need to be sharp at the size the label actually prints.
- 300 dpi minimumRaster images should be at least 300 dpi at final print size — the size the label actually prints, not the on-screen preview.
- Embed or supplyEmbed images in the file, or send the originals alongside the artwork, so nothing drops out at print.
- Vector logosKeep logos and text as vector so they stay crisp at any size and never pixelate.
- No upscalingEnlarging a low-resolution image does not add real detail. Start from a high-resolution source instead.
72 dpi web images print soft; 300 dpi at final size prints crisp.
Barcode Setup for Labels
A barcode that will not scan holds up a whole run. Four settings decide whether it reads first time.
Leave clear quiet zones and hold dark bars on a light background.
Quiet Zone
Leave clear space around the barcode so scanners can lock onto it without interference.
Minimum Size
Keep the barcode at or above its minimum size for reliable, first-pass scanning.
Contrast
Use dark bars on a light background. Low contrast is the most common reason a code fails to read.
Formats
Supply accurate data for UPC, EAN, QR or data-matrix codes, and do not stretch or distort them.
Fonts and a Pre-Flight Checklist
A quick check before you send saves a round of revisions. Outline your fonts, then run down this list.
Outline Your Fonts
Convert text to outlines, or supply the font files, so type prints exactly as designed, even if we do not have the font installed.
Pre-Flight Checklist
- Vector artwork supplied
- Bleed added past the cut
- Content inside the safe zone
- Dieline on its own layer
- Color in CMYK / Pantone
- Images at 300 dpi
- Barcode quiet zone clear
- Fonts outlined or supplied
Artwork FAQs
A vector AI, print PDF or EPS is preferred; raster images should be at least 300 dpi at final size.
Commonly 3 mm of bleed past the cut line, with important content kept inside the safe zone.
CMYK for print; specify Pantone where a brand color must stay exact across runs.
At least 300 dpi at final print size — the size the label actually prints, not the screen preview.
Yes for custom shapes — supply the cut line on its own layer so we cut exactly where you intend.
Keep a clear quiet zone, hold the minimum size and good contrast, and supply accurate data for the code.
Yes — outline fonts or supply them so type prints as designed on our end.
Send it over — our pre-press team checks bleed, dieline, color, resolution and barcodes before printing.
Send Us Your Label Artwork
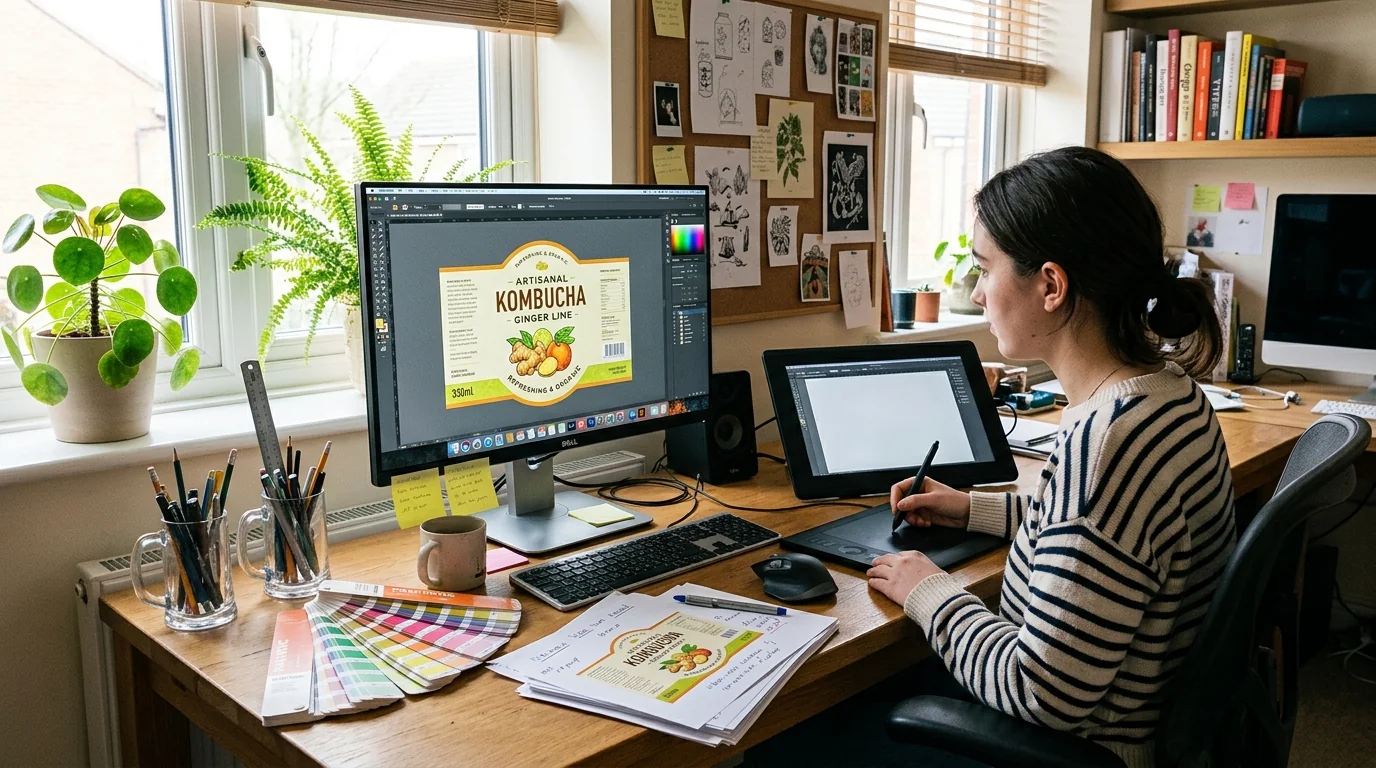
Upload your file and our pre-press team checks bleed, dieline, color, resolution and barcodes before printing. Or tell us your project and we will help you get it print-ready.